Subscribe to my podcast and view all my episodes here:
Snack Attack: Wellness & Weight Loss for Busy Teachers
Subscribe to my podcast and view all my episodes here:
“I finally feel in control”
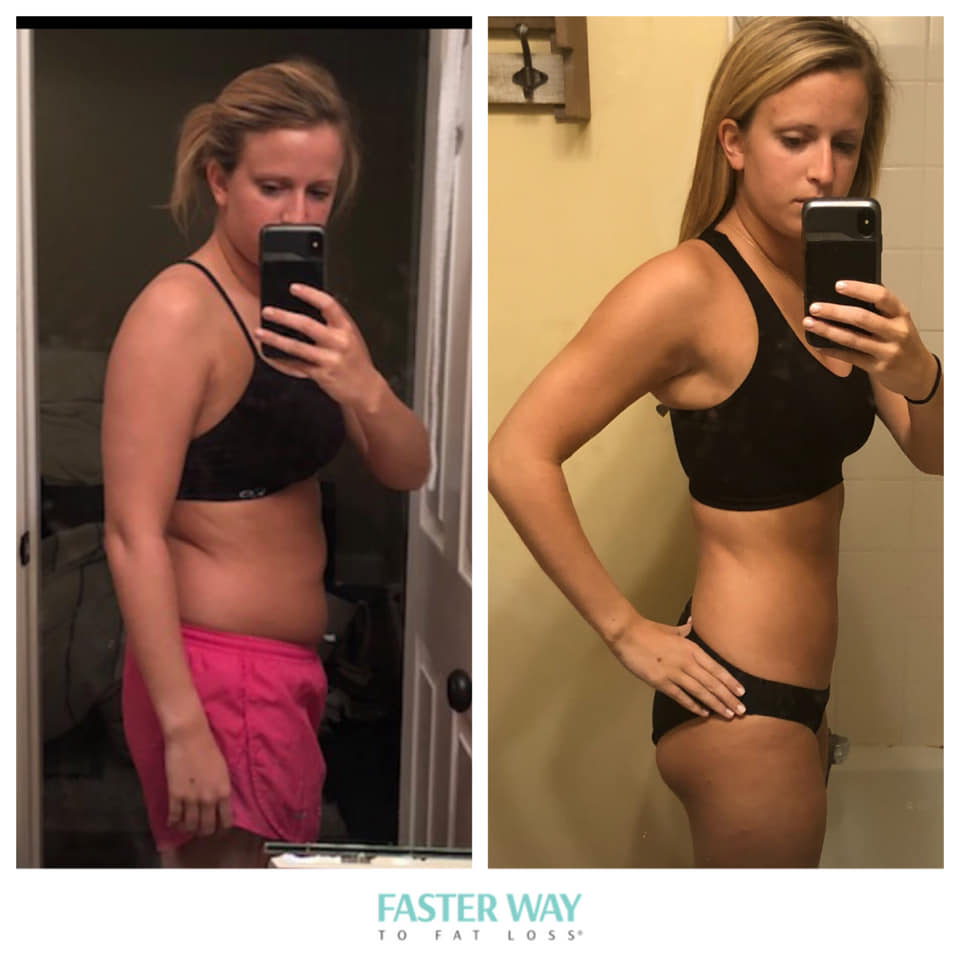
Way to go, Kelsey, and thank you for allowing me to share your story!
“I’ve been an athlete and active my entire life and had never struggled with weight until grad school. But since starting grad school in 2016, I let the late night hours of studying and mindless eating get the best of me. In 18 months, I put on almost 30 pounds. I felt unmotivated and overwhelming fatigue every single day. Fast forward 7 months into my journey with the FASTer Way to Fat Loss – I’m feeling stronger, have more energy than ever, I’m sleeping like a baby, and I’m actually eating MORE than I was 7 months ago! I’ve been able to keep up with this program even throughout my crazy grad school hours and late nights of studying. I finally feel like I’m in control of what I eat, rather than trying to starve myself to lose a few pounds. This program is truly life-changing and not just another quick fix! If you’re looking for a sign to make a change in your life, this is it!”
Want my latest FREEBIE? Grab it here!
READY TO START my next FASTer Way New Client experience? I’d love that – go here!
Not ready yet? No problem – join my WAITLIST to stay up-to-date!
Zucchini Bread Oatmeal
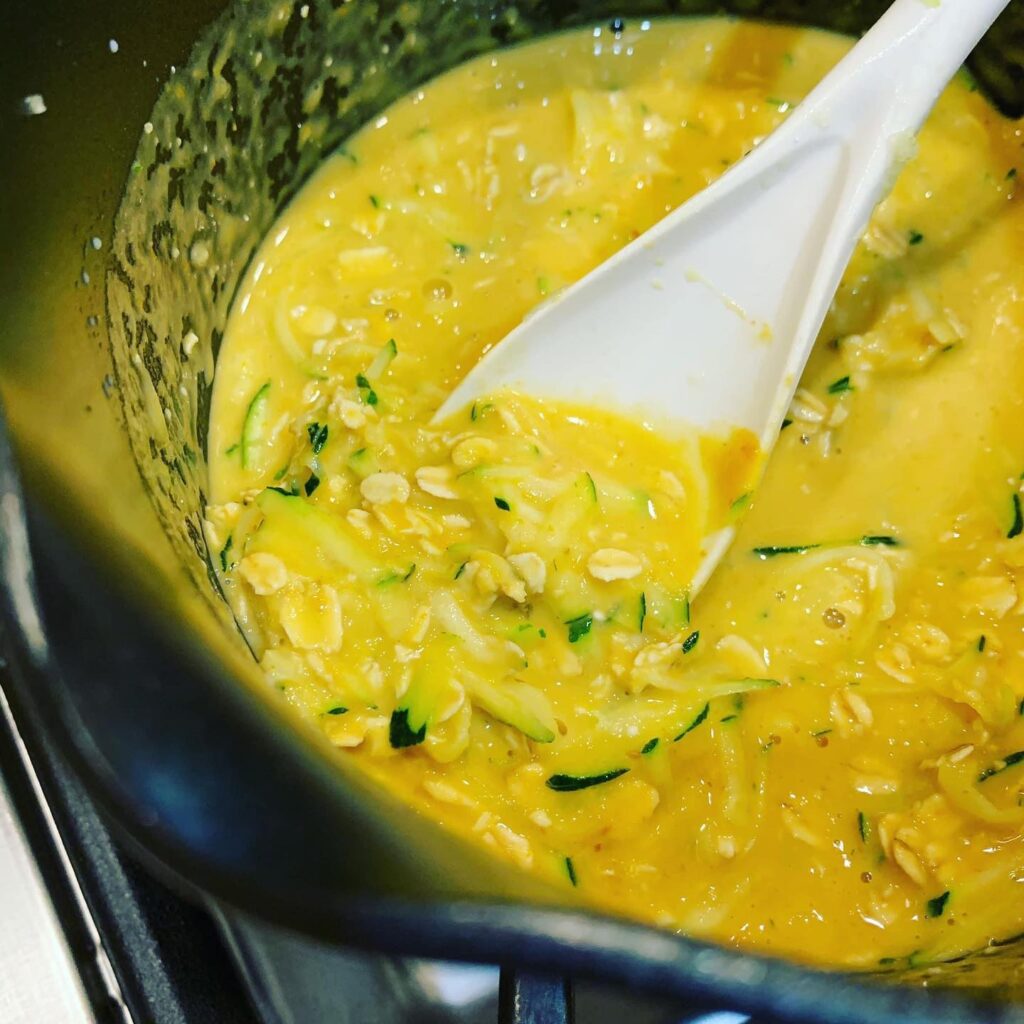
Call me crazy, but I’ve been playing around with sneaking veggies into my own oatmeal!
So far I have included shredded zucchini, riced cauliflower, and puréed pumpkin (technically a fruit but bear with me) with great success!
Next up: shredded carrots for carrot cake oatmeal!
I generally just include some extra liquid and throw the veggies, in but I did try this yummy recipe:
Zucchini bread oatmeal
1/2 cup rolled oats
1/4 cup grated zucchini
1/2 banana, sliced
1/2 tsp vanilla
1/2 tsp cinnamon
1 cup unsweetened almond milk or water
Combine and cook over medium heat until liquid is absorbed, approximately 8 minutes.
Optional-> top with nut butter and/or chopped nuts, fruit, or dried fruit. I’d probably sprinkle some raisins or dried dates on top!
Do you sneak extra veggies into your diet? I’d love to know your tips & tricks!
“If butternut squash is actually good, why did it take you so long to feed it to me?”
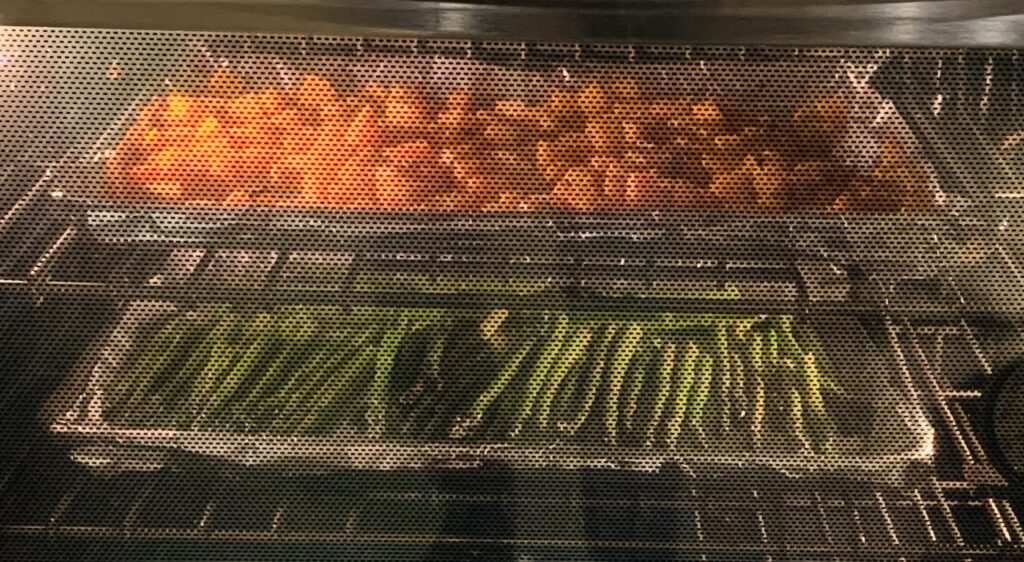
Last night I served one of my easy one protein/two side meals. I tried out a new cod recipe and served it with butternut squash and asparagus. One of my kids said, “If butternut squash is actually good, why did it take you so long to feed it to me?” That’s a ringing endorsement from this crowd! I posted on my social media and a couple of my Facebook friends asked for the recipe, prompting this blog post. Yay! I have been distracted lately with things going on in my personal life (foster parenting, pandemic life, etc.!) and am thrilled for this little motivation to reactive the blog. As a side note, I have served my kids butternut squash before, but only in the form of soup.
I love the simplicity of my one protein/two sides dinner strategy, and I super love any meal I can cook on sheet pans together in the oven. In this case, both sides (but not the main dish) shared the same oven. It took a bit of tweaking because the squash called for a 400 degree oven and the asparagus for a temp of 425, but I just went in the middle at 415 and adjusted the cooking times. I tend to cook things longer than recommended when oven roasting, as my personal preferences is generally more well done.
I’m providing links to the original recipes below, but here is how I prepped the two sides. My versions are easier to prepare than the original recipes!
Preheat oven to 415 degrees Fahrenheit. Rinse of the butternut squash or wash with veggie wash. Peel and cube the butternut squash into small cubes (I’d estimate mine were 1/2 inch). My mother-in-law recommends cutting off one end, standing on the flat end, and using a vegetable peeler to peel down. This is superior to my less strategic squash wrangling method, but achieves the same result.
Add cubes to a large bowl. Drizzle with olive oil. Sprinkle with garlic salt, pepper, and a crushed rosemary. If you don’t like garlic or rosemary, simply leave one or both out. (If you omit the garlic salt I recommend adding salt.) Toss and spread on a sheet pan. I like to use nonstick foil for ease of clean up.
Wash and drain asparagus. Snap one to determine where the woody end intersects with the tender part of the stalk then cut all the stalks to that length. Add asparagus to the same bowl as the squash was prepped (no need to wash it, in my opinion). Drizzle with olive oil, then shake on salt and pepper. I also added garlic powder and a drizzle of lemon juice (the recipe says to add the lemon juice at the end, will try that next time). Toss and spread out on a sheet pan covered in nonstick foil.
After the oven is preheated, put in the squash for 20 minutes, then pop the asparagus in for 20 minutes – so the squash cooks for 40 minutes and the asparagus for 20.
Writing it out, it sounds like a lot – but really it is simple. I love “no recipe recipes”! No measuring required. Enjoy! Scroll to the bottom of the page for links to the original recipes.
Want my FREE 5 day Meal Guide? Grab it here!
READY TO START my next FASTer Way New Client experience? I’d love that – go here!
Not ready yet? No problem – join my WAITLIST to stay up-to-date!
Recipe inspiration came from these recipes:
Simple Roasted Butternut Squash from Allrecipes
Oven Roasted Asparagus from Allrecipes
Not pictured: Pan-Fried Cod with Slaw
Pan-Fried Cod Notes: I didn’t make the slaw, though it sounds good and I will another time! And, I made this recipe with 3 pieces cod and 2 pieces tilapia (big family problems, using what I had) and we actually liked the tilapia better. Instead of frying in an inch of vegetable oil, I used olive oil cooking spray applied liberally. I also subbed almond milk for the milk (one child avoids dairy) and used panko bread crumbs instead of cracker crumbs.
Grilled Chicken Marinade
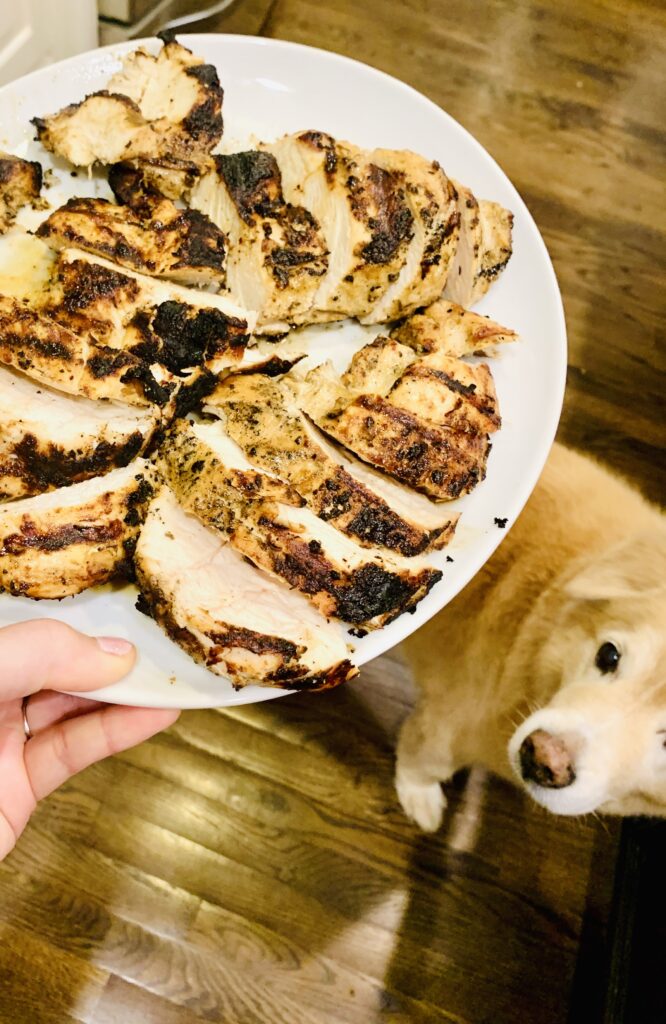
A recipe on our regular rotation!
While I do like trying new recipes, there’s a certain ease to having go-to defaults. This marinade is one of my easy recipes that the whole family enjoys, and it’s a great fit even on Low Carb Days since there’s no added sugar or other high carb sweetener. I make it about every other week. Leftovers are good hot or cold!
Most people list recipe ingredients from largest to smallest, but I like to reorder the ingredients to minimize the number of measuring implements I use. That generally means when I’ll be measuring both wet and dry ingredients with one tool, I measure the dry ingredients first!
To make this yummy marinade, grab your liquid measuring cup and add:
1/2 cup olive oil
1/4 cup white wine vinegar or apple cider vinegar
Then find your tablespoon and measure:
1 T poultry seasoning
1 T paprika or smoked paprika
1 T Worcestershire sauce
1 T lemon juice
1 T minced garlic (or 3 cloves garlic, pressed)
3T full fat olive oil mayonnaise
If you have the squeeze bottles of minced garlic and mayo, you may have gotten away without even rinsing the tablespoon!
Last up, teaspoon ingredients:
1 t onion powder
1 t salt
1 t dried thyme
1 t pepper
If you don’t have one or more of the ingredients, just leave it out! Only the oil and vinegar are mandatory. I usually mix this up by shaking it in a mason jar or adding it directly to a ziplock bag and “mushing it around.” I frequently add frozen chicken breasts to the ziplock bag of marinade and let it float in a cool water bath in my sink as a quick defrost method. That way the chicken is both defrosting and marinating at the same time. As long as I get to this by late afternoon, the chicken is ready for the grill at dinner time. I have always used chicken breasts but I bet thighs would be good, too!
I just made this version (I’m a tweaker so I frequently change things in recipes) to make sure I could heartily recommend it to you, and it got rave reviews from the family. Opinions differed as to *why* it was so good, but I strongly suspect it was the marinade.
I cooked the chicken on my gas grill for about 6-8 minutes on each side, then let the chicken remain on the covered grill for another 5 or so minutes after I turned it off. I used thick, large chicken breasts, so adjust cooking time depending on the cut of chicken you are using and the thickness. Using a thermometer for food safety is best!
After I removed it from the grill I cut in into strips for serving. Each breast was more than enough for one serving so everyone served themselves what they wanted. As you can see in the picture, even the dog thought it smelled good – but unfortunately for him, no one was sharing.
Let me know if you try this recipe, or any variations you suggest!
Want my FREE 5 day Meal Guide? Grab it here!
READY TO START my next FASTer Way New Client experience? I’d love that – go here!
Not ready yet? No problem – join my WAITLIST to stay up-to-date!
Intermittent Fasting 101
I went live on my social media to talk about the basics of intermittent fasting (IF). It started off a bit rocky with wifi connectivity issues, but then I settled into the groove. Check out the replay here if you’ve been curious about IF!
Want my FREE 5 day Meal Guide? Grab it here!
READY TO START my next FASTer Way New Client experience? I’d love that – go here!
Not ready yet? No problem – join my WAITLIST to stay up-to-date!
